In this guide, we are going to create a basic web chat application with Node.js and the SocketCluster.io module. The chat application will allow our users to create chat rooms that they can share with their friends.
This guide requires zero prior knowledge to Node.js or SocketCluster.io so it is ideal for users of all levels of experience.
Introduction
In order for our chat applications to work, messages sent by any individual user must be relayed to all other users. Traditionally, web chat rooms built on PHP have struggled with bidirectional real-time communications.
This problem is solved by using WebSockets, a technology that makes it possible to maintain an interactive session between the client and the server.
Rather than polling the servers for any new messages like we used to do before, we are now able to push the message to other all users once it has been received by the server.
Setup our environment
The first thing to do is to install Node.js on your system. You can follow one of these official guides on how to do so depending on your operating system.
Installing Node.js will also come with its package manager called npm. We will use npm install to install SocketCluster.
npm install -g socketcluster
Depending on your system, you may need to run the command with super user privileges
sudo npm install -g socketcluster
Creating the application
Once we have SocketCluster installed we can now use it to create our application. Browse to the location where you want to have your application installed, and run the following command in your terminal. I've chosen to install this in my home directory and I've called my chat application sc-chat.
socketcluster create sc-chat
Testing the server
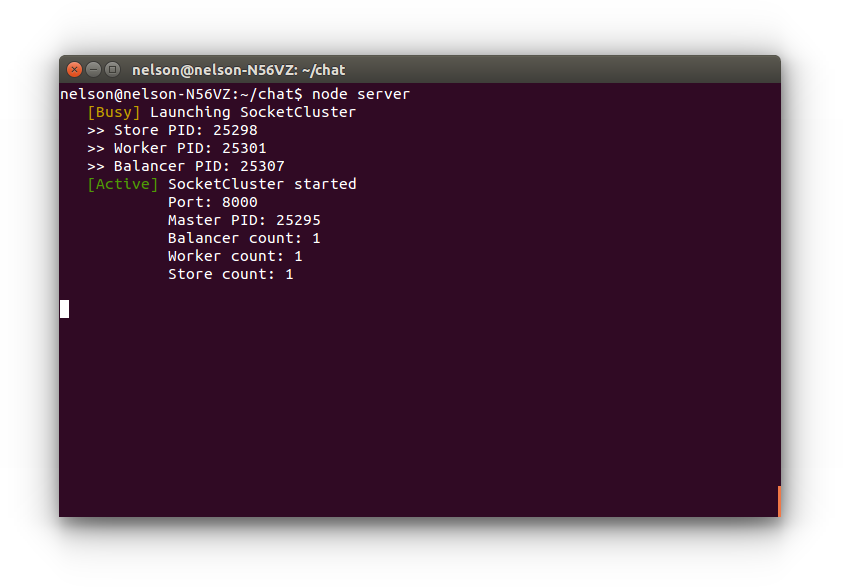
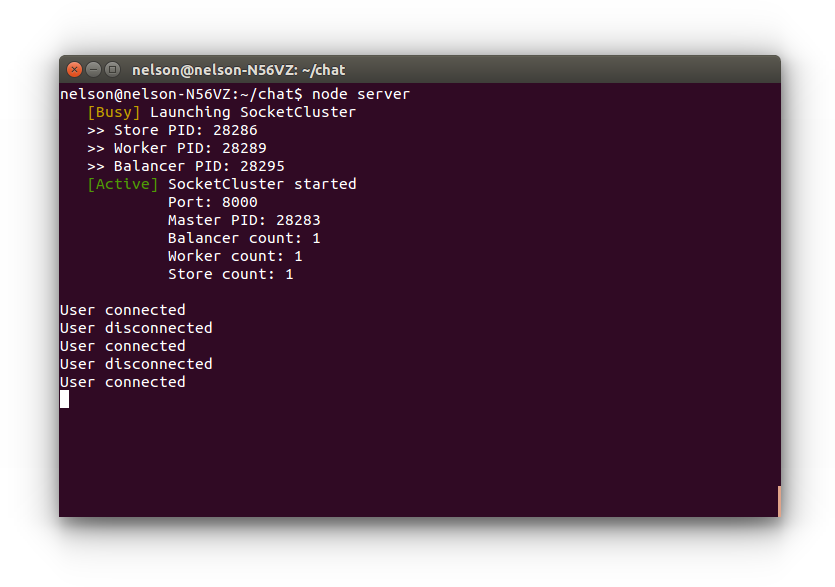
If we run node server we should see the following:
And if we browse to http://localhost:8000 we should see this:
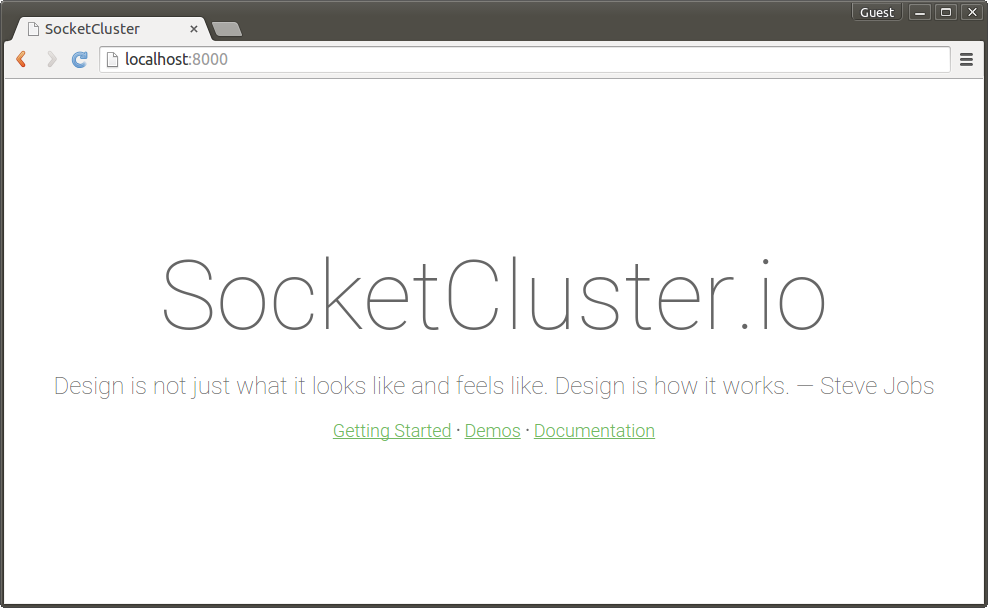
Yay! We have our basic server running and we can see the default application page!
Editing the HTML
So far, we've been able to run our server and have it deliver the default page. Let's now go ahead and edit that page to make our chat application. Open up the public/index.html in your favourite text editor and replace its contents with this:
<!DOCTYPE html>
<html>
  <head>
    <title>SocketCluster Chat Application</title>
    <link href='//fonts.googleapis.com/css?family=Roboto:300' rel='stylesheet' type='text/css'>
    <link rel="stylesheet" type="text/css" href="css/style.css">
  </head>
  <body>
    <div class="container">
      <div class="messages">
        <ul id="messages-list"></ul>
      </div>
      <div class="actions">
        <form>
          <input id="message" autocomplete="off" placeholder="Type a message...">
          <button>Send</button>
        </form>
      </div>
    </div>
  </body>
</html>
Adding some CSS
Create the css directory inside your application and save the following CSS file inside:
body {
  margin: 0;
  padding: 0;
  color: #666666;
  font-weight: 300;
  font-family: 'Roboto';
  background-color: #F9F9F9;
}
a {
  font-weight: 300;
  color: #72B963;
}
.container {
  margin: 10vh 10vw ;
  position: relative;
  width: 80vw;
  background-color: #FFFFFF;
  border: 1px solid #EEEEEE;
  height: 80vh;
}
.container ul {
  margin: 0;
  padding: 0;
}
.container ul>li {
  list-style: none;
  padding: 20px;
  border-bottom: 1px solid #EEEEEE;
}
.container ul>li:nth-child(odd) {
  background: #F6F5F6;
}
.messages {
  height: 75vh;
  overflow-y: scroll;
}
.actions {
  position: absolute;
  bottom: 0;
  background-color: #CCCCCC;
  width: 100%;
  border-top: 1px solid #EEEEEE;
}
.actions input {
  border: 0;
  margin: 0;
  font-size: 1em;
  padding: 1.5vh 1vw;
  width: 68vw;
  float: left;
}
.actions button {
  border: 0;
  margin: 0;
  width: 10vw;
  text-align: center;
  font-size: 1em;
  padding: 1.5vh 1vw;
  float: left;
  background-color: #2ecc71;
  color: #FFFFFF;
}
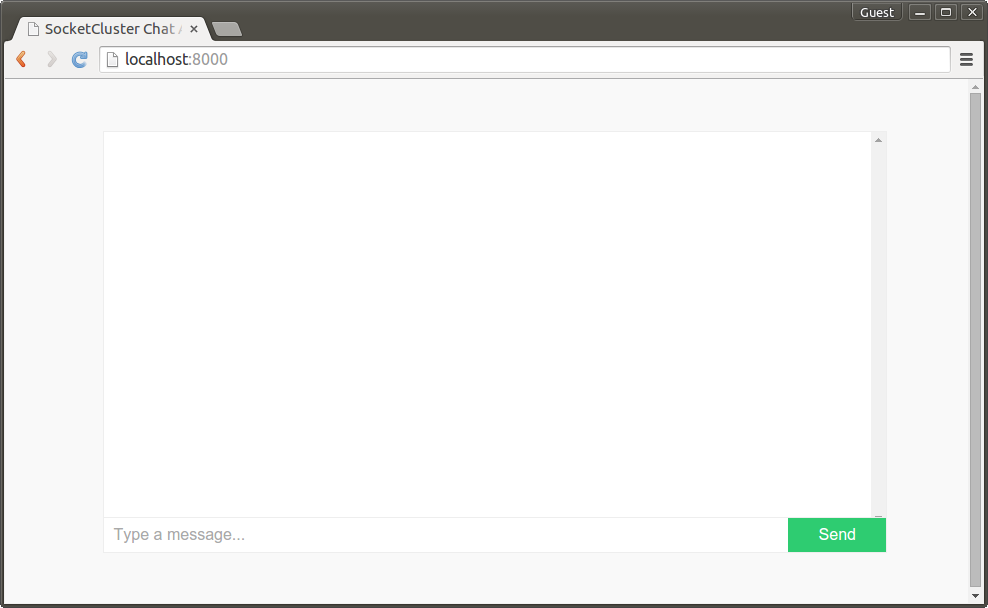
Refresh the page and it should look like this:
SocketCluster action
Let's add some code to our server's worker.js so that we can see when someone has connected to the server:
scServer.on('connection', function (socket) {
  console.log('User connected');
  socket.on('disconnect', function () {
    console.log('User disconnected');
  });
});
Now inside index.html we can add the Javascript to trigger this event. Add the following code right before the </body> tag.
<script type="text/javascript" src="/socketcluster.js"></script>
<script type="text/javascript">
  var socket = socketCluster.connect();

  socket.on('error', function (err) {
    throw 'Socket error - ' + err;
  });

  socket.on('connect', function () {
    console.log('Connected to server');
  });
</script>
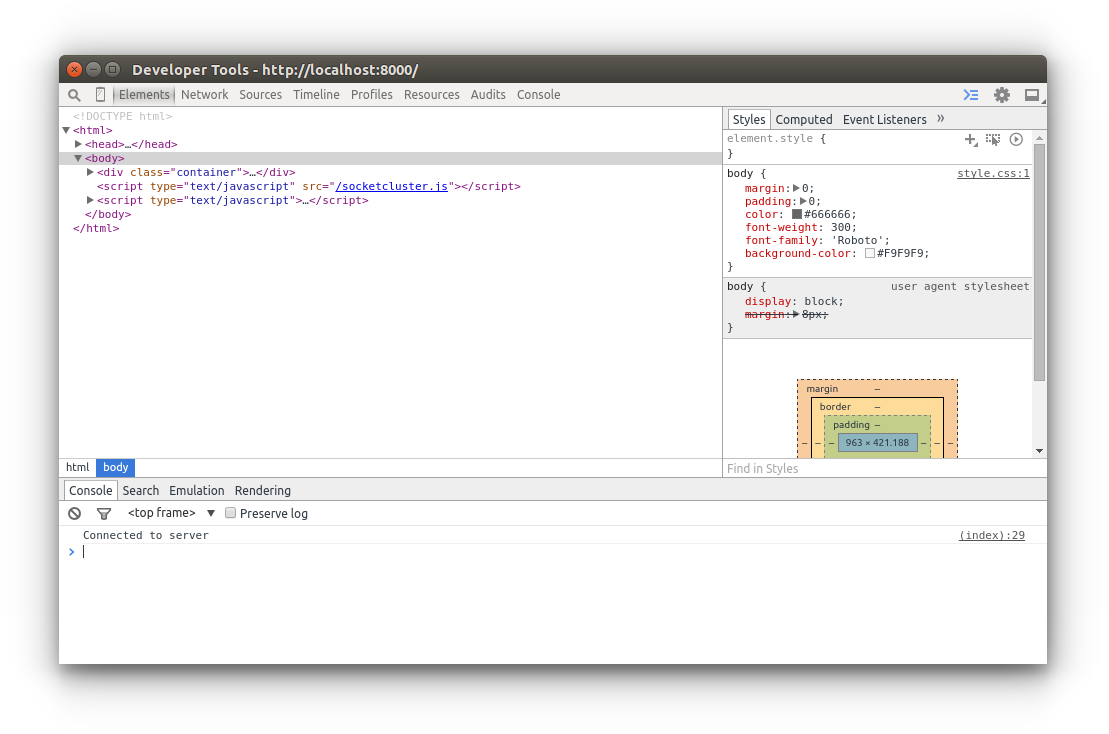
Now if we restart the server by pressing Ctrl+C on the terminal running the server and re-running node server, and refreshing the page we will see this:
Also notice that in our browsers console, it prints Connected to server once a connection has been established.
Emitting events
Now let's introduce some event emissions so that when the user types a message, the server will receive a chat event. Let's update the javascript above the </body> to this:
<script type="text/javascript" src="/socketcluster.js"></script>
<script src="https://ajax.googleapis.com/ajax/libs/jquery/1.11.2/jquery.min.js"></script>
<script type="text/javascript">
  var socket = socketCluster.connect();

  socket.on('error', function (err) {
    throw 'Socket error - ' + err;
  });

  socket.on('connect', function () {
    console.log('Connected to server');
  });

  $('form').submit(function(){
    if($('#message').val() != '') {
      socket.emit('chat', $('#message').val());
    }

    $('#message').val('')

    return false;
  });
</script>
And we will print the messages we receive on the server, for now.
scServer.on('connection', function (socket) {

  console.log('User connected');

  socket.on('chat', function (data) {
    console.log('Chat:', data);
  });

  socket.on('disconnect', function () {
    console.log('User disconnected');
  });
});
Broadcasting
Now that we are receiving the chat messages on the server, it is time to broadcast it to all our clients. We do this by adding scServer.global.publish('yell', data);the following line to our chat event.
scServer.on('connection', function (socket) {

  console.log('User connected');

  socket.on('chat', function (data) {
    scServer.global.publish('yell', data);
    console.log('Chat:', data);
  });

  socket.on('disconnect', function () {
    console.log('User disconnected');
  });
});
And listening for this yell event on the client by adding the following before our </body> tag:
<script type="text/javascript" src="/socketcluster.js"></script>
<script src="https://ajax.googleapis.com/ajax/libs/jquery/1.11.2/jquery.min.js"></script>
<script type="text/javascript">
  var socket = socketCluster.connect();

  socket.on('error', function (err) {
    throw 'Socket error - ' + err;
  });

  socket.on('connect', function () {
    console.log('Connected to server');
  });

  $('form').submit(function(){
    if($('#message').val() != '') {
      socket.emit('chat', $('#message').val());
    }

    $('#message').val('')
    return false;
  });

  var chatChannel = socket.subscribe('yell');

  chatChannel.on('subscribeFail', function(err) {
    console.log('Failed to subscribe to Yell channel due to error: ' + err);
  });

  chatChannel.watch(function (data) {
    $('#messages-list').append($('<li>').text(data));
  });
</script>
This will listen for any yell events and then take the message and insert it to our messages list.
And that's it! Messages sent from any one client will be broadcasted to all our clients and displayed.